
A Food Sealer Machine removes air from a package and closes it with controlled heat. This simple process can protect food from moisture, oxygen, freezer burn, and everyday handling. Open a refrigerator drawer, and the difference is easy to see: sealed chicken stays cleaner, while loose produce dries around its edges.
Dr. Robert Gravani, a respected food-safety educator and professor emeritus at Cornell University, has said, “Food safety is everyone’s responsibility.” His point matters here. A Food Sealer Machine can slow oxidation and reduce exposure, but it cannot make spoiled food safe. Users must still wash their hands, choose fresh ingredients, control storage temperatures, and follow reliable handling guidance.
The machine usually works in three stages. First, its pump draws air from a textured bag or container. Next, a heated sealing bar softens the plastic layers. Finally, pressure creates a tight seam as the material cools. Some models offer pulse settings, adjustable suction, and separate modes for dry or moist foods. Liquids can be troublesome. They may enter the pump or weaken the seal.
Good sealing requires patience. Leave space above the food. Keep the bag’s edge dry and flat. Check for wrinkles, pinholes, or trapped crumbs. A seal can look perfect and still fail later. That is an easy mistake to miss. This guide will examine how the machine works, where it helps, and where careful judgment remains necessary.
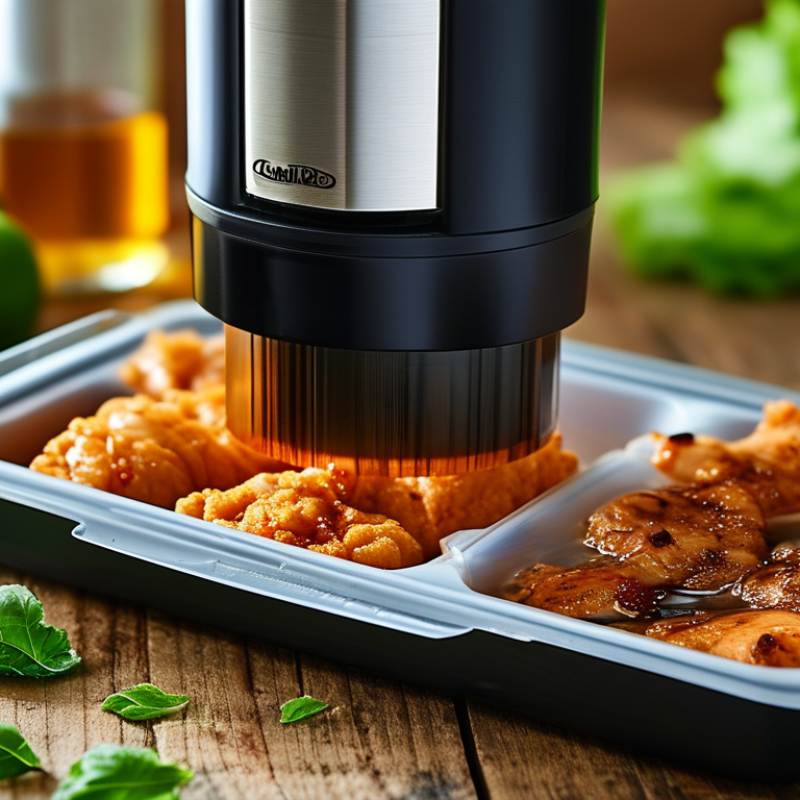
A food sealer machine is a countertop device that closes food bags by removing air, applying heat, or using both methods. Most home models include a small pump, sealing chamber, heating strip, and control panel. The pump lowers pressure inside the bag. The heated strip then melts the plastic layers together, creating a tight closure. Some machines only seal bags without removing air. That distinction matters.
During operation, the user places the open bag edge inside the machine and starts the sealing cycle. A vacuum model draws air from the bag before sealing it. Less oxygen can slow oxidation and help preserve texture. However, sealing does not sterilize food or make spoiled food safe. Cold foods should remain refrigerated, and frozen items need proper storage temperatures. A common practical mistake is overfilling the bag. The bag must stay flat near the opening. Too much liquid can enter the pump area.
A food sealer is best understood as a packaging tool, not a preservation guarantee. It can reduce freezer burn, organize portions, and protect dry ingredients from moisture. Results depend on clean, dry sealing surfaces and suitable bag material. If the seal looks wrinkled, weak, or incomplete, cut it open and reseal it. Not every seal holds. The technology is useful, but careful handling still matters.
| Data Dimension | Description | How It Works or Typical Information |
|---|---|---|
| Machine Definition | A food sealer machine is equipment used to close food bags or pouches. | It creates a sealed joint by applying heat, pressure, vacuum, or a combination of these methods. |
| Primary Sealing Method | Heat sealing | Heated sealing bars soften compatible thermoplastic layers, and pressure joins the layers as they cool. |
| Vacuum Function | Air removal before sealing | A pump removes much of the air from the bag, after which the machine heat-seals the opening. |
| Main Sealing Components | Sealing bar, heating element, pressure surface, and control system | The heating element supplies thermal energy, while the pressure surface maintains contact during sealing and cooling. |
| Suitable Packaging Materials | Heat-sealable plastic films and laminated pouches | The package must contain a sealable thermoplastic layer; ordinary paper or non-sealable materials generally require a suitable coating or liner. |
| Typical Applications | Dry foods, snacks, coffee, frozen foods, meat, and prepared portions | The machine helps close packages and can reduce exposure to moisture, air, dust, and handling contamination. |
| Standard Operating Sequence | Position, remove air if applicable, seal, cool, and inspect | The open end is placed across the sealing area, the selected cycle is started, and the finished seam is checked for continuity. |
| Important Controls | Temperature, sealing time, pressure, and vacuum duration | Correct settings depend on the packaging material, film thickness, product type, and required seal strength. |
| Seal Quality Indicators | Continuous, even, clean, and secure seam | Wrinkles, channels, burn marks, incomplete bonding, or trapped product can weaken the seal. |
| Effect on Shelf Life | Packaging protection rather than automatic preservation | Sealing may help limit air and moisture exposure, but shelf life also depends on food type, processing, storage temperature, and hygiene. |
| Vacuum Packaging Limitation | Vacuum sealing does not make food shelf-stable | Perishable vacuum-sealed foods still require appropriate refrigeration or freezing and safe handling. |
| Maintenance Requirements | Cleaning, inspection, and replacement of wear parts | Keep the sealing area clean, remove food residue, inspect sealing strips and gaskets, and follow the equipment maintenance schedule. |
| Key Safety Considerations | Heat, electricity, sharp packaging edges, and food hygiene | Avoid contact with hot sealing surfaces, keep liquids away from electrical parts, and use clean packaging practices. |
A food sealer machine removes air from a bag and closes it with controlled heat. Its main parts work together in a short, practical cycle. The lid or sealing chamber holds the bag steady. A flexible gasket creates an airtight contact around the chamber. If the gasket is cracked, air can leak before sealing begins.
Inside the machine, a vacuum pump draws air from the bag. A hose, nozzle, or chamber opening guides that air toward the pump. The sealing bar then heats a narrow strip of the bag. This heat softens the plastic layers and presses them into one continuous seam. Many machines use a temperature sensor and timer to control this step. The control panel adjusts vacuum strength, sealing time, and sometimes cooling time. Small changes matter.
A drip tray catches liquid from moist food and helps protect the pump. Some models include pressure sensors that stop the cycle when the target vacuum is reached. In daily use, I check the sealing strip for crumbs and wipe the gasket after handling wet foods. It seems minor. It is not. A clean surface usually produces a more reliable seal. Still, no machine removes every risk of leakage. Overfilled bags, sharp bones, and wrinkled plastic can defeat good settings. I once found that stronger suction was not the answer; leaving more space above the food worked better.
A food sealer machine removes air from a specially designed bag, then closes it with heat. The process helps reduce oxidation, moisture loss, and freezer burn.
It does not sterilize food. That distinction matters.
Place the food inside a compatible bag, leaving several centimeters of empty space near the opening. Keep the rim dry and clean. Moisture can weaken the seal.
Lay the open edge across the machine’s sealing area, then close the lid firmly. Select the vacuum setting and start the cycle. The pump draws air from the bag.
As the plastic tightens around the food, the machine detects reduced airflow or reaches its programmed limit. It then heats a narrow strip, melting the inner layers together. The seal needs a few seconds to cool before handling.
Check the result carefully. A strong seal looks even, smooth, and continuous. Wrinkles, liquid, or trapped food may create tiny channels. Re-seal the bag if necessary.
I have found that rushing this inspection causes more failures than the machine itself. Soft foods can crush during vacuuming, so a shorter cycle or brief pre-freezing may work better.
After sealing, label the package with its contents and date. Refrigerate or freeze perishable food promptly, because reduced air does not replace safe temperature control.
A food sealer machine closes packaging around food, reducing air exposure and moisture loss. Most models use heat, pressure, suction, or a combination of these methods. The right machine depends on food texture, packaging material, storage volume, and cleaning needs.
Heat sealers are simple choices for dry foods, snacks, and prepared portions. They melt a plastic layer and create a tight edge. Impulse sealers work in short bursts, while continuous band sealers handle repeated packaging faster. Vacuum sealers remove air before sealing. External-suction models suit everyday home use, but soft foods can shift during suction. Chamber vacuum sealers place the entire bag inside the chamber. They provide steadier pressure and work better with liquids. Tray sealers close preformed containers and are useful for meals, produce, and portioned foods. Some machines also support modified-atmosphere packaging, but that process requires careful technical control.
Tips: Choose heat-compatible bags, not ordinary thin plastic. Wipe the sealing strip after use. Leave enough space above the food. Liquids should be chilled or partly frozen before vacuum sealing. A failed seal is not always obvious, so check for loose edges and trapped debris. I have found that stronger suction is not always better; delicate bread and berries may crush easily. Packaging can also look secure while holding a tiny channel of air. Refrigerate or freeze sealed food promptly, and follow safe storage times rather than trusting the package alone.
A food sealer machine removes air from a specially designed bag, then closes it with heat. Less oxygen can slow oxidation, freezer burn, and moisture loss. In practical kitchen use, sealed food often keeps its texture better than food wrapped loosely. However, sealing does not make food shelf-stable. Perishable items still need prompt refrigeration or freezing.
Many foods work well with this method. Raw meat, poultry, fish, hard cheese, cooked grains, coffee, nuts, and dry snacks are common choices. Firm vegetables, such as carrots and broccoli, can also be sealed after brief blanching. Soft fruits may crush under pressure, while sharp bones can puncture the bag. Wet foods need extra care. Freeze soups, sauces, or berries first, then seal them when solid. I sometimes skip this step, and the liquid can be pulled toward the machine.
Tips: Pat food dry before sealing. Leave enough space above the contents for a strong seal. Label each package with its name and date. Store chilled food below 4°C, and freeze it for longer storage. Never rely on a vacuum seal alone to judge freshness. If the package smells unusual, swells, leaks, or feels warm, discard it. Sealed garlic, mushrooms, or cooked foods also deserve caution because low-oxygen storage can create safety concerns. My own habit is imperfect: I occasionally forget the label, then regret guessing how old the food is.
A food sealer removes air from a pouch and heat-seals it to help reduce oxidation, freezer burn, and moisture loss.
Typical freezer storage for best quality
The chart shows approximate months for vacuum-sealed foods stored continuously at 0°F (-18°C) or below. Vacuum sealing helps preserve quality, but it does not replace safe cooking, refrigeration, or freezing practices. Storage periods are based on commonly published food-safety guidance and refer mainly to quality rather than safety.